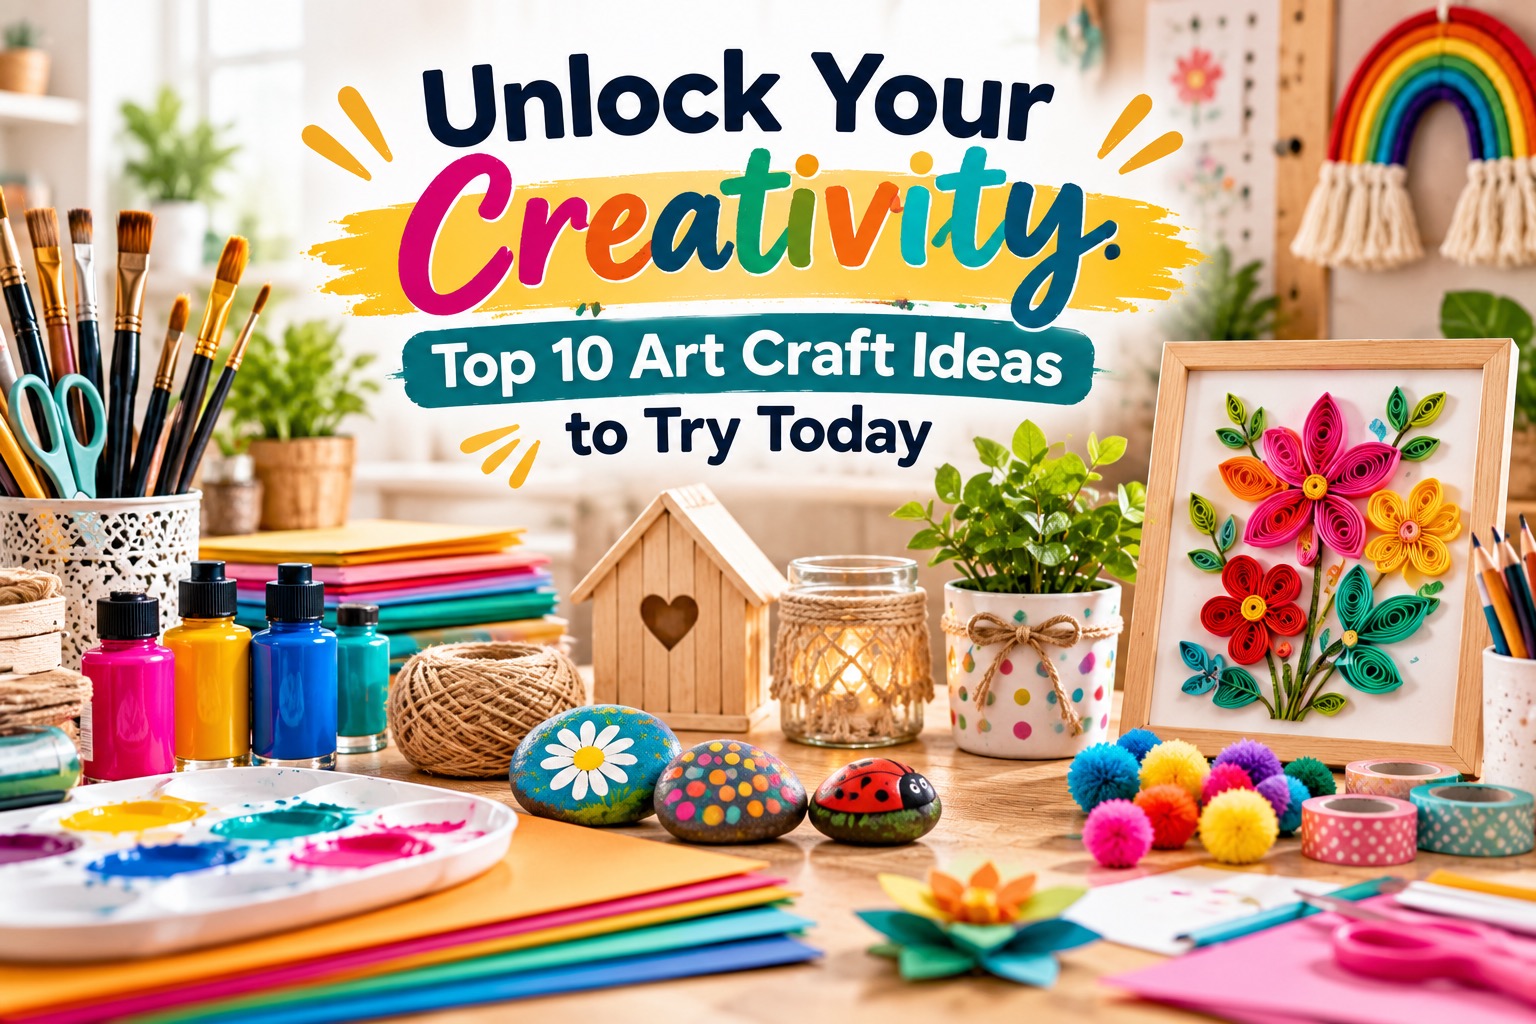
Unleash your imagination with our top 10 art craft ideas! Dive into fun projects that will spark your creativity and elevate your artistic skills today.
Benefits of Engaging in Art Crafts
Engaging in art crafts can be a transformative experience, offering numerous benefits beyond just the joy of creation. One of the most significant advantages is the stress relief it provides. In today’s fast-paced world, finding time to unwind can be challenging. Art crafting offers a therapeutic escape, allowing you to express emotions and thoughts through creative mediums. Whether you’re painting, sculpting, or sewing, the act of creating something with your hands helps to reduce anxiety and promote a sense of calm.
In addition to mental health benefits, art crafts also enhance cognitive abilities. The process of planning and executing a craft project involves critical thinking and problem-solving skills. You have to decide which materials to use, how to arrange them, and sometimes even figure out how to fix mistakes. This mental exercise keeps your brain active and sharp, improving memory and concentration over time.
Moreover, art crafts can foster a sense of accomplishment and boost self-esteem. Completing a project, no matter how small, gives you a tangible product of your hard work and creativity. This sense of achievement can be incredibly empowering, encouraging you to take on more complex projects and explore new creative avenues. The positive feedback from friends and family can also enhance your confidence, making you more willing to share your creations with the world.
Essential Supplies for Art Crafts
Before diving into the exciting world of art crafts, it’s essential to gather the right supplies. Having a well-stocked craft kit ensures you’re always ready to start a new project without unnecessary delays. Basic supplies like scissors, glue, and a variety of paints are fundamental. Scissors come in different sizes and shapes, each suited for specific tasks, from cutting paper to trimming fabric. Glue, available in various forms like sticks, liquid, and sprays, is crucial for adhering materials together. Paints, whether acrylic, watercolor, or oil, provide the color and vibrancy needed for many projects.
In addition to these basics, specialized tools can significantly enhance your crafting experience. Brushes of different sizes and textures allow for detailed painting and smooth application. Cutting mats and craft knives are indispensable for precision work, especially when working with paper or fabric. Don’t forget about measuring tools like rulers and tape measures, which ensure accuracy and symmetry in your projects.
Finally, consider investing in storage solutions to keep your supplies organized and easily accessible. Craft boxes, drawer organizers, and pegboards can help you maintain a tidy workspace, saving you time and reducing frustration. An organized craft area not only makes it easier to find what you need but also inspires creativity by providing a clutter-free environment where your imagination can flourish.
Idea 1: DIY Painted Rocks
DIY painted rocks are a delightful way to combine the beauty of nature with the vibrancy of art. This project is perfect for all ages and skill levels, making it an excellent choice for family bonding or solo relaxation. Start by gathering smooth, flat rocks from your garden or a local park. Clean them thoroughly to remove any dirt or debris, and let them dry completely before beginning your design.
Once your rocks are prepped, choose your paints and brushes. Acrylic paints are ideal for this project because they adhere well to the rock surface and offer a wide range of colors. Sketch your design lightly with a pencil before painting. Popular designs include mandalas, animals, and inspirational quotes. However, don’t be afraid to let your imagination run wild and create something entirely unique.
After painting, allow the rocks to dry completely, and consider sealing them with a clear varnish to protect your artwork from the elements. These painted rocks can be used as garden decorations, paperweights, or even as thoughtful, handmade gifts. The joy of transforming an ordinary rock into a piece of art is incredibly satisfying and a testament to the power of creativity.
Idea 2: Upcycled Bottle Planters
Upcycled bottle planters are an eco-friendly way to add a touch of greenery to your home while reducing waste. Start by collecting empty plastic or glass bottles of various sizes. Clean them thoroughly, removing any labels and residue. Using a sharp knife or scissors, carefully cut the bottle in half. The bottom part will serve as the planter, and the top can be repurposed for other projects or recycled.
Next, decorate your bottle planter. You can paint the outside with acrylic paints, wrap it in decorative paper, or even use washi tape for a quick and colorful design. This step allows you to personalize your planter to match your home decor or to create a fun, whimsical look. Once decorated, poke a few drainage holes in the bottom of the planter to ensure your plants won’t become waterlogged.
Fill your planter with potting soil and add your choice of plants. Succulents, herbs, and small flowering plants work particularly well in these upcycled containers. Place your new planters on windowsills, desks, or hang them with twine for a vertical garden effect. Not only do these planters brighten up your space, but they also serve as a constant reminder of the beauty and potential of upcycling.
Idea 3: Handmade Greeting Cards
Handmade greeting cards offer a personal touch that store-bought cards simply can’t match. Creating your own cards allows you to tailor each one to the recipient, making the gesture even more special. Start by selecting a sturdy cardstock as the base of your card. Fold it in half to create the card shape, and trim the edges if needed to achieve the desired size.
Gather a variety of decorative supplies such as patterned paper, stickers, ribbons, and stamps. These items will help you bring your card to life. Begin by designing the front of the card. You can cut out shapes from patterned paper, use stamps to add images or messages, and embellish with ribbons or stickers. Layering different elements creates depth and visual interest, making your card stand out.
Inside the card, write a heartfelt message. This is your opportunity to express your feelings and make the card truly personal. You can use calligraphy pens for an elegant touch or colorful markers for a more playful look. Handmade greeting cards are perfect for any occasion, whether it’s a birthday, holiday, or just to say thank you. The time and effort you put into creating each card will undoubtedly be appreciated by the recipient.
Idea 4: Tie-Dye T-Shirts
Tie-dye t-shirts are a fun and colorful way to express your individuality. This classic craft has stood the test of time, continuing to be a favorite for all ages. Begin by selecting a plain white cotton t-shirt. The higher the cotton content, the better the dye will adhere. Pre-wash the shirt to remove any sizing or chemicals that might interfere with the dyeing process.
Next, decide on your tie-dye pattern. Popular techniques include spirals, bullseyes, and crumples. To create a spiral, pinch the center of the shirt and twist it into a tight coil. For a bullseye, pinch the fabric where you want the center of the bullseye to be and pull it into a cone shape, then secure with rubber bands. Crumple involves simply scrunching the shirt into a ball and securing it with rubber bands.
Prepare your dyes according to the package instructions, and apply them to the shirt using squirt bottles. Be sure to wear gloves to protect your hands from staining. Apply the dye in sections, ensuring that the color penetrates through the folds for a vibrant result. Once you’ve applied the dye, wrap the shirt in plastic wrap and let it sit for at least 6-8 hours to allow the dye to set. Rinse the shirt under cold water until the water runs clear, then wash it separately in cold water to remove any excess dye. Your unique tie-dye creation is now ready to wear and enjoy!
Idea 5: Paper Mache Projects
Paper mache projects are a fantastic way to create three-dimensional art using simple materials. This craft is versatile and can be used to make masks, sculptures, and decorative items. Start by creating a base structure for your project. You can use balloons, cardboard, or wireframes, depending on the shape and size of your desired creation.
To make the paper mache paste, mix equal parts of water and flour until you achieve a smooth, glue-like consistency. Tear newspaper or tissue paper into strips, about an inch wide. Dip each strip into the paste, removing any excess paste by running it between your fingers. Layer the strips over your base structure, overlapping them to ensure full coverage. Continue adding layers until your structure is sturdy, typically 3-4 layers.
Allow the paper mache to dry completely, which can take up to 24 hours. Once dry, you can paint and decorate your creation. Acrylic paints work well for this step, as they provide vibrant colors and good coverage. You can also add embellishments like glitter, feathers, or fabric to enhance your project. Paper mache is a wonderful way to recycle old newspapers and create unique, personalized art pieces that showcase your creativity.
Idea 6: Personalized Canvas Art
Personalized canvas art is a beautiful way to decorate your home while showcasing your artistic flair. This project allows you to create custom pieces that reflect your style and personality. Start with a blank canvas, available in various sizes at craft stores. Decide on your design, whether it’s a quote, abstract art, or a detailed image. You can sketch your design lightly with a pencil before painting.
Choose your paints based on the look you want to achieve. Acrylic paints are versatile and dry quickly, making them ideal for canvas art. Oil paints offer rich colors and a smooth finish but take longer to dry. Watercolors can create a soft, ethereal effect but may require a special canvas coating. Gather brushes of different sizes to accommodate various details in your design.
Begin painting, starting with the background and working your way to the foreground. Layering colors and textures can add depth and dimension to your artwork. Don’t be afraid to experiment with different techniques like splattering, dry brushing, or using palette knives. Once your painting is complete, allow it to dry thoroughly before displaying it. Personalized canvas art makes a stunning addition to any room and can also be a heartfelt gift for loved ones.
Conclusion and Encouragement to Get Started
Embarking on art craft projects can be an incredibly rewarding experience, offering numerous benefits for your mental well-being and cognitive abilities. Whether you’re painting rocks, upcycling bottles, or creating personalized canvas art, each project allows you to express your creativity and develop new skills. The key is to gather the necessary supplies, set aside dedicated time, and dive into the process with an open mind and a willingness to experiment.
Art crafts not only provide a therapeutic escape but also foster a sense of accomplishment and self-esteem. Completing a project and seeing the tangible results of your efforts can be incredibly satisfying. Moreover, sharing your creations with friends and family can bring joy to others and inspire them to explore their own artistic endeavors.
So why wait? Gather your supplies, choose a project from our top 10 art craft ideas, and start creating today. Remember, the journey of art crafting is just as important as the final product. Enjoy the process, embrace your creativity, and let your imagination soar. Happy crafting!